Fall does something to people. Maybe it’s the sweaters, maybe it’s the light changing, but suddenly you want your nails to look like they belong to someone with her life together.
Here’s the truth: your first attempt probably won’t look like the photo. That’s fine. That’s normal. This isn’t just a list of pretty photos to scroll past; it’s ten real designs plus the actual steps to get there, whether you’ve been doing your own nails for years or you’re working with a bottle of polish and a lot of hope. Some of these are simple enough for a Sunday afternoon. Others take more patience. Either way, you’ll know exactly what to do.
Let’s get into it.
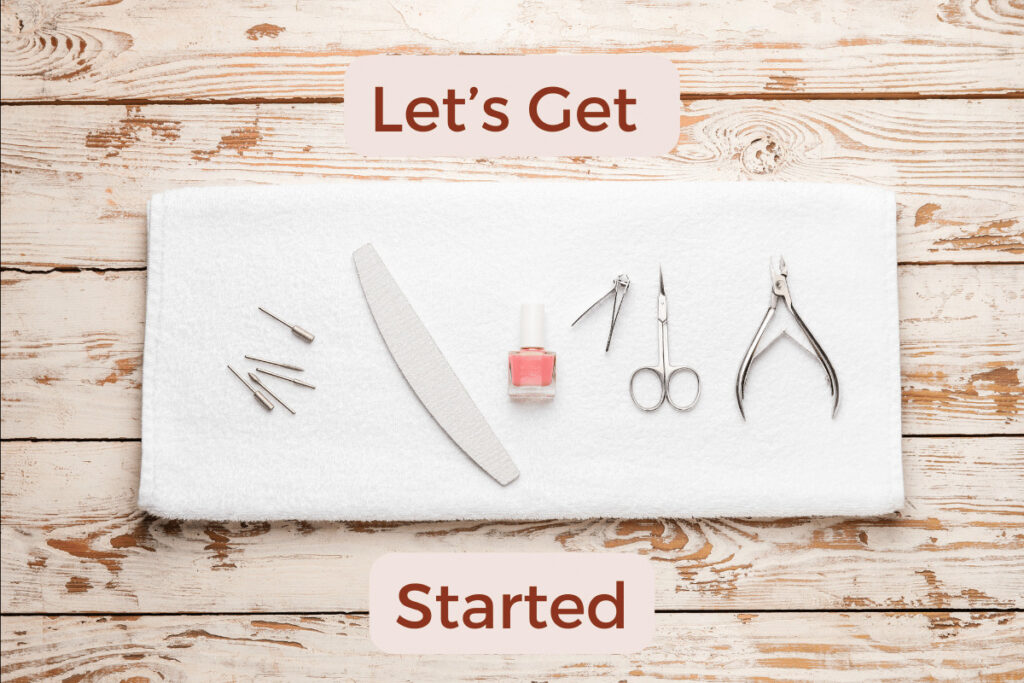
You don’t need a professional kit to pull these looks off. Here’s what actually matters:
That’s it. Everything else is optional.
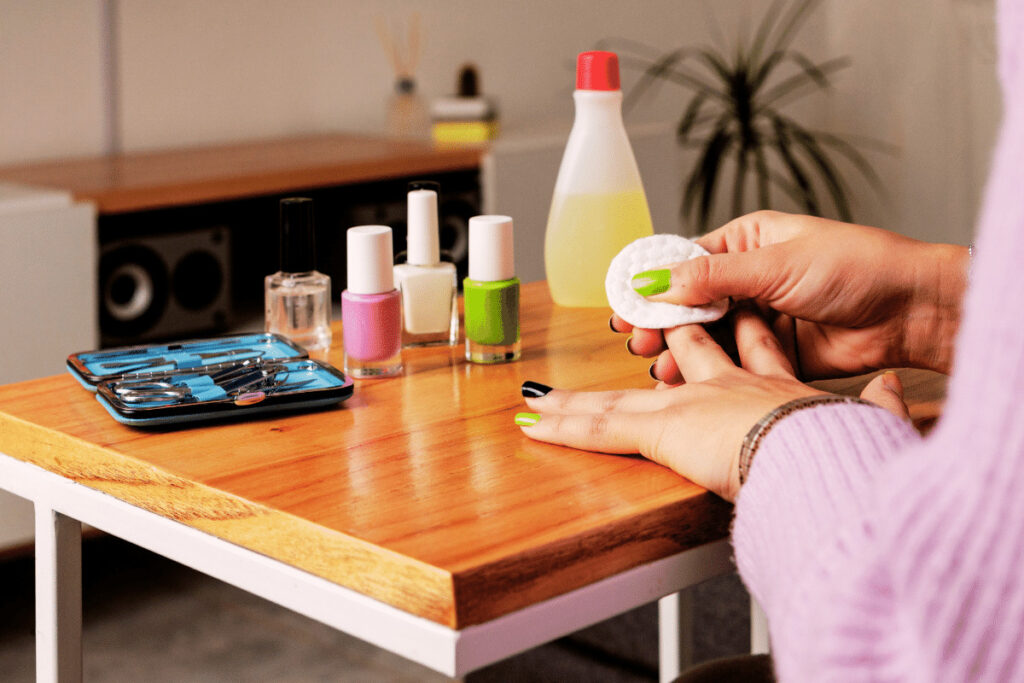
This is the part everyone wants to skip. Don’t.
Start by taking off whatever polish is already there; acetone-free remover if you can- it’s gentler on your nails. Then shape them. Almond or square both work well for fall looks, but honestly, go with whatever shape actually feels like you. File the edges smooth, buffer if you want an extra-polished base.
Last step: a thin layer of base coat. This is what stands between your nails and staining, chipping, and a manicure that doesn’t last the week. Let it dry all the way before you touch anything else. Yes, all the way.
However you’re feeling this season, there’s a design here for it. A few things apply across the board: start with a clean, dry base coat every time, and finish with a clear top coat to lock in whatever you create. From there, pick the one that matches your mood, not the one that looks easiest in a photo.
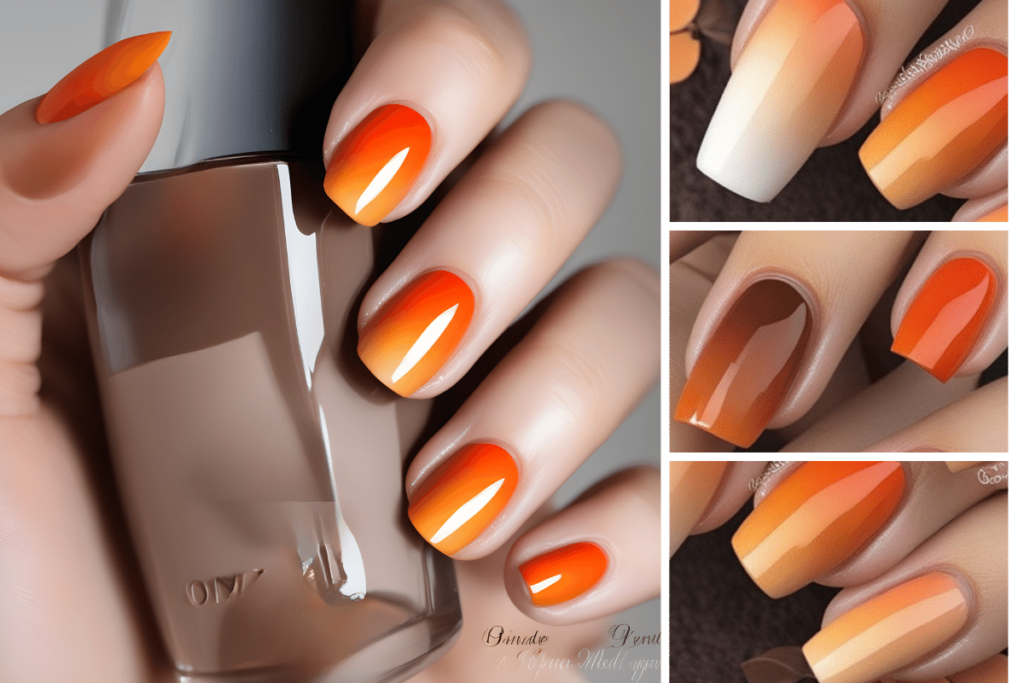
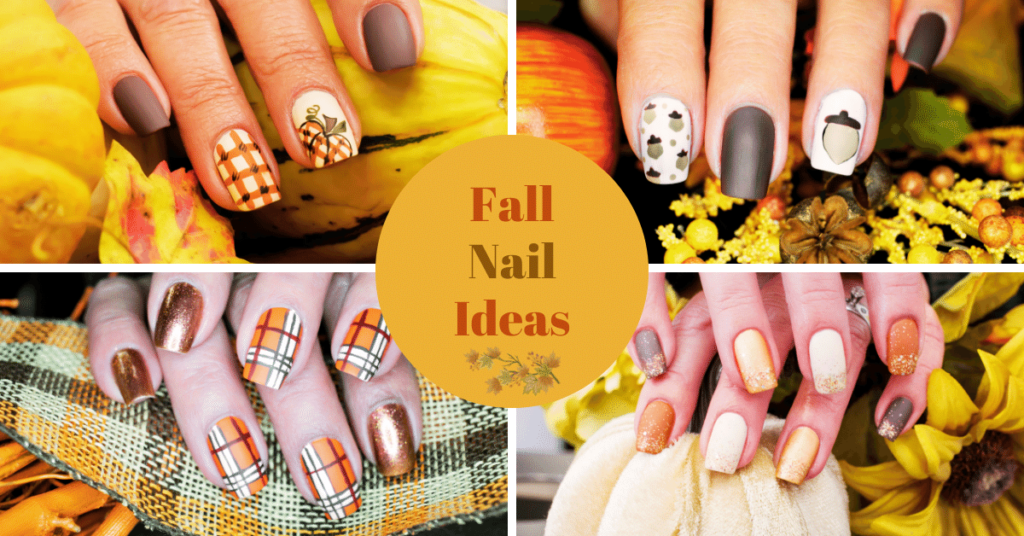
This one’s forgiving, which makes it a great place to start if you’re newer to nail art. Blend a deep brown into a bright orange using a makeup sponge, dabbing the color on and pressing it onto the nail until the gradient feels right. Perfectionism isn’t required here. The fade is supposed to look a little different on every nail.
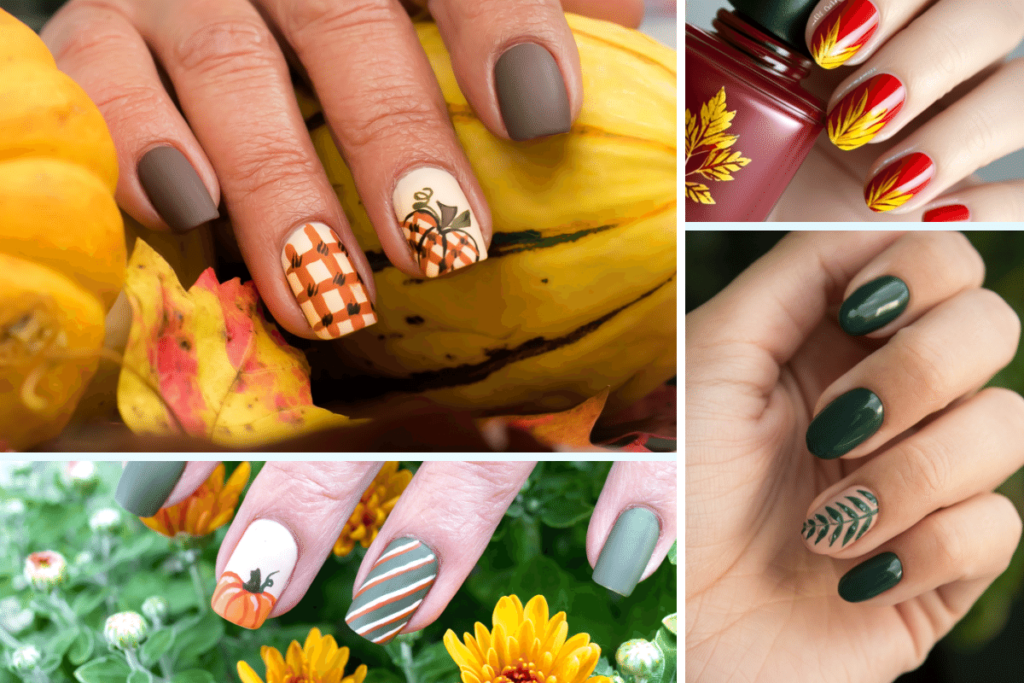
Start with deep red or burgundy for the leaves, then use a fine brush to add the shape and a little gold or dark green for the veins. For pumpkins, switch to orange and keep the shapes simple: small ovals, a stem, maybe a few curved lines for dimension. They look more complicated in photos than they really are once you break them down.
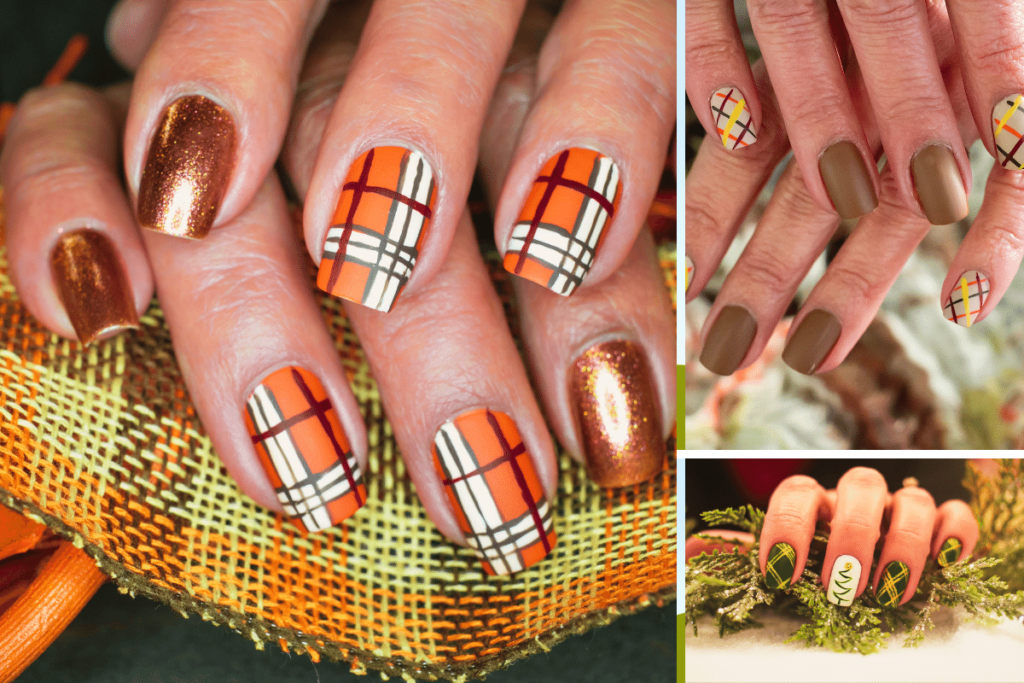
This one rewards patience more than talent. Go neutral, beige or light gray, then build your grid with vertical lines, horizontal lines, and alternating colors where they cross. Go slowly and accept that your first nail probably won’t match your fifth.
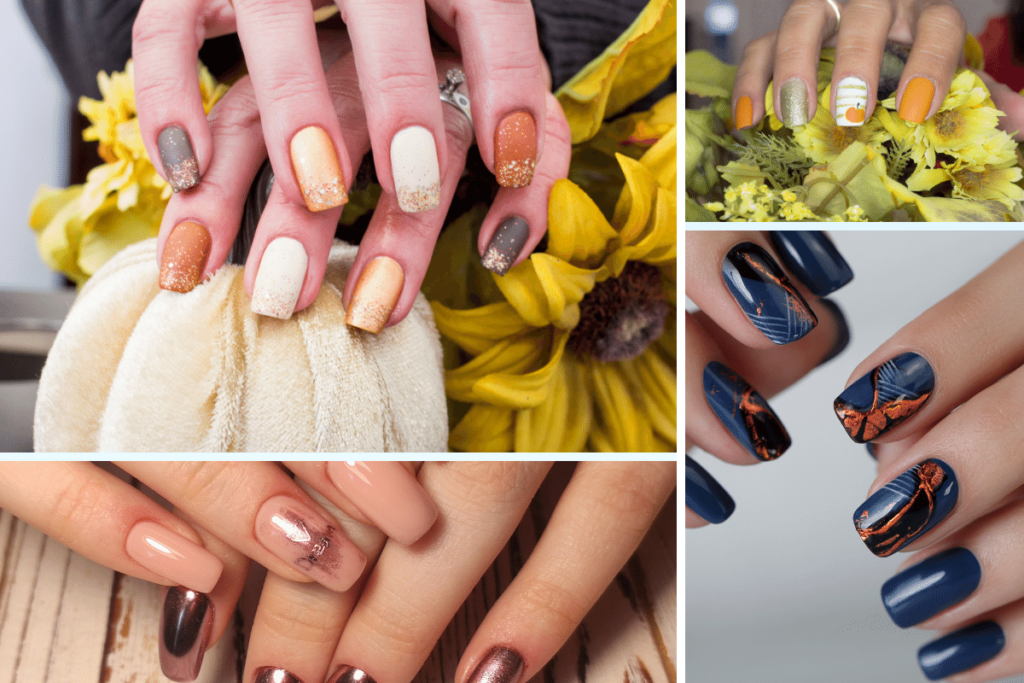
Foil, studs, chrome, whatever catches the light works here. Paint your base color and let it dry completely, then brush on a clear top coat or nail adhesive and place your metallic pieces while that layer is still tacky. This one photographs beautifully but doesn’t ask for much precision, which makes it a good pick if you want something that reads as dressed up without a ton of freehand work.
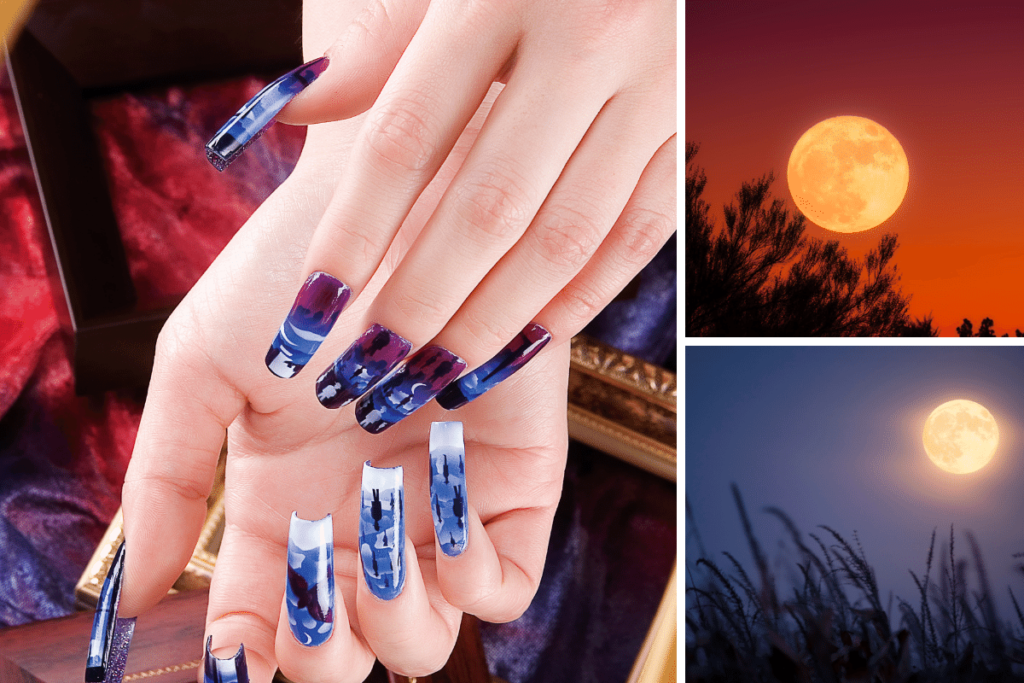
Picture a quiet night sky, and you’ve basically designed this one already. Midnight blue base, then a small silver or white moon on one or two nails, maybe a scattering of orange and red leaves drifting across the others. It’s less about technical skill and more about restraint; this design works best when you don’t crowd it.
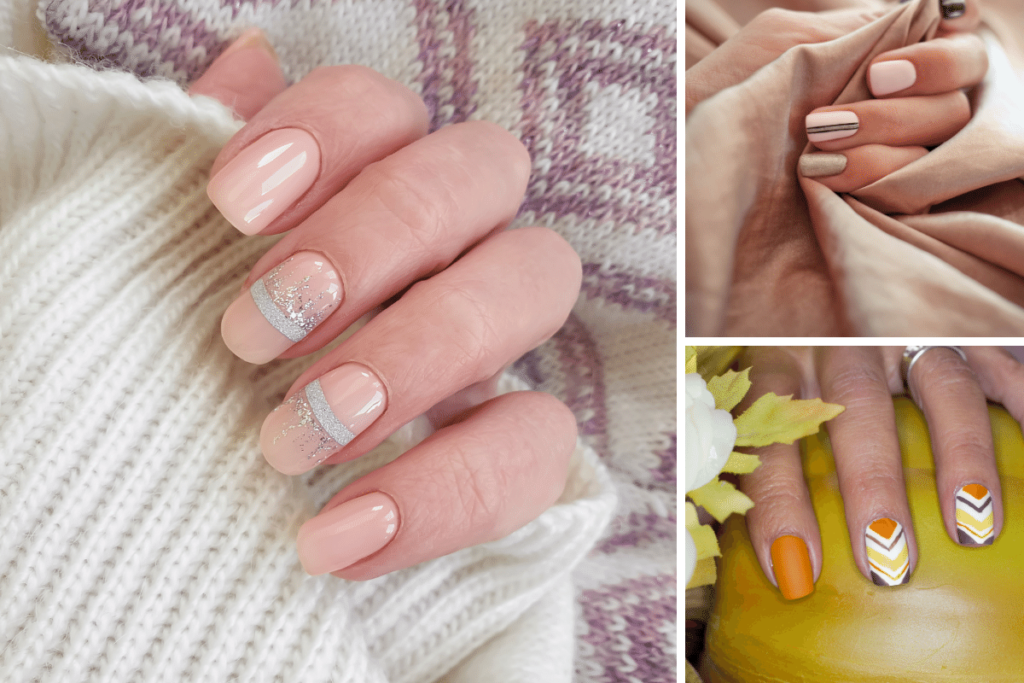
Fair warning: this one’s closer to knitting than painting. Cream or light gray base, then cable-knit or Fair Isle patterns in soft metallic gold using a fine brush, and settle in with a show, because this takes time. The payoff is nails that look genuinely handmade, in the best way.
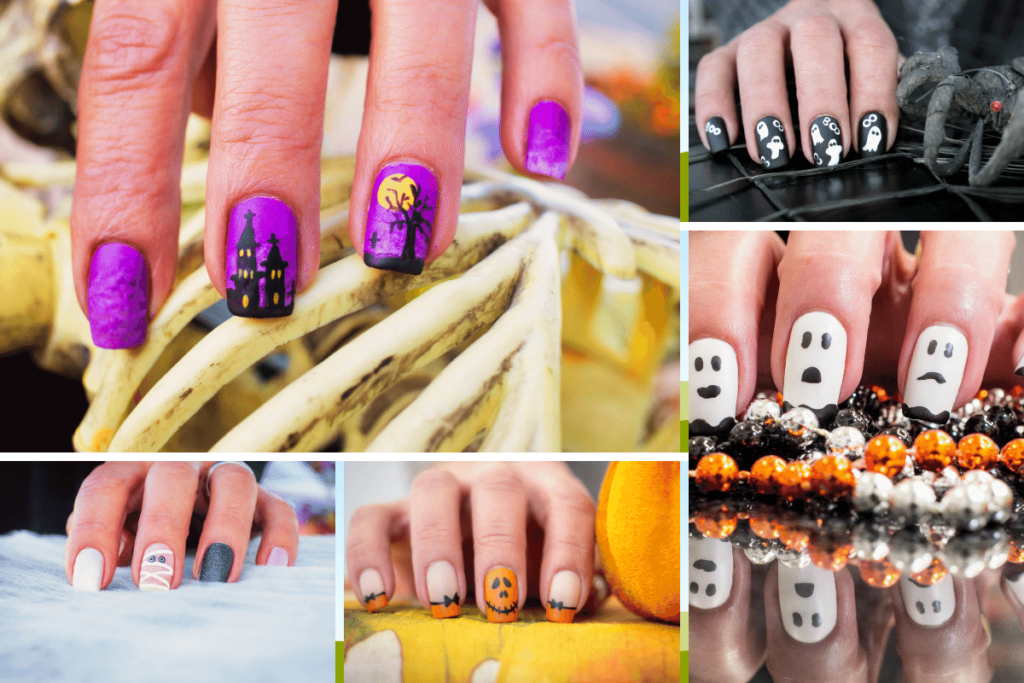
This is the one design here that’s allowed to be a little unhinged. Black or deep purple base, then go wherever the mood takes you: bats, spiderwebs, a tiny ghost if you’re feeling ambitious. Neon green or orange accents keep it from reading too heavy. There’s no wrong way to be spooky here, so don’t overthink the details.
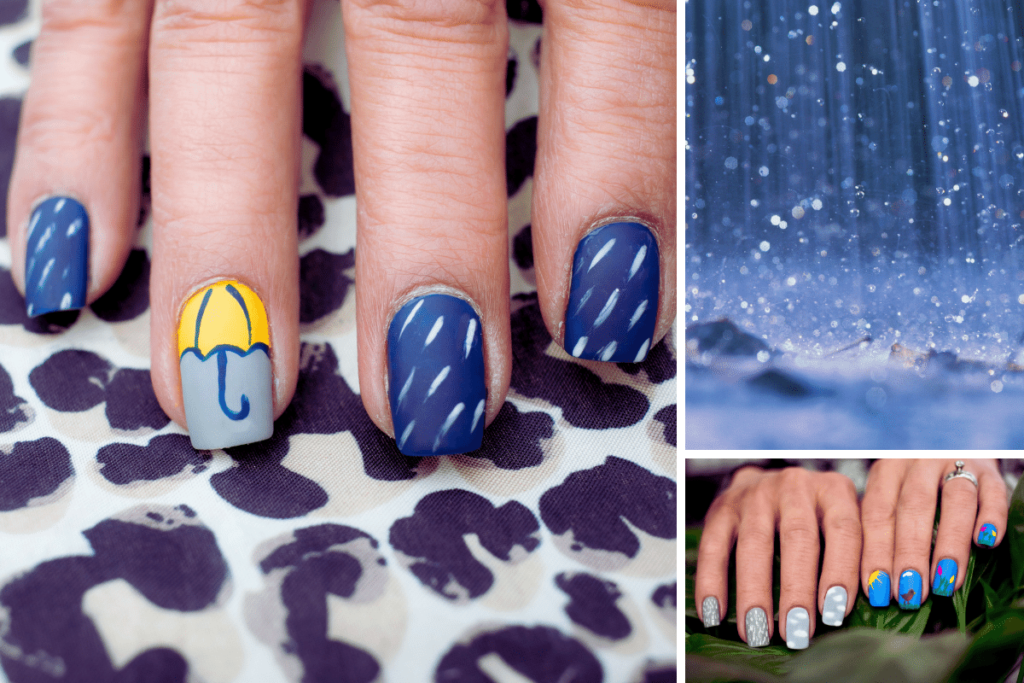
Gray and blue instead of orange and red, which makes this one feel different from everything else on this list. Soft gray or light blue base for the cloudy sky, then a toothpick or fine brush for raindrops streaking down from the tip of the nail. Add an umbrella on one nail if you want a focal point; otherwise, the raindrops alone do plenty of work.
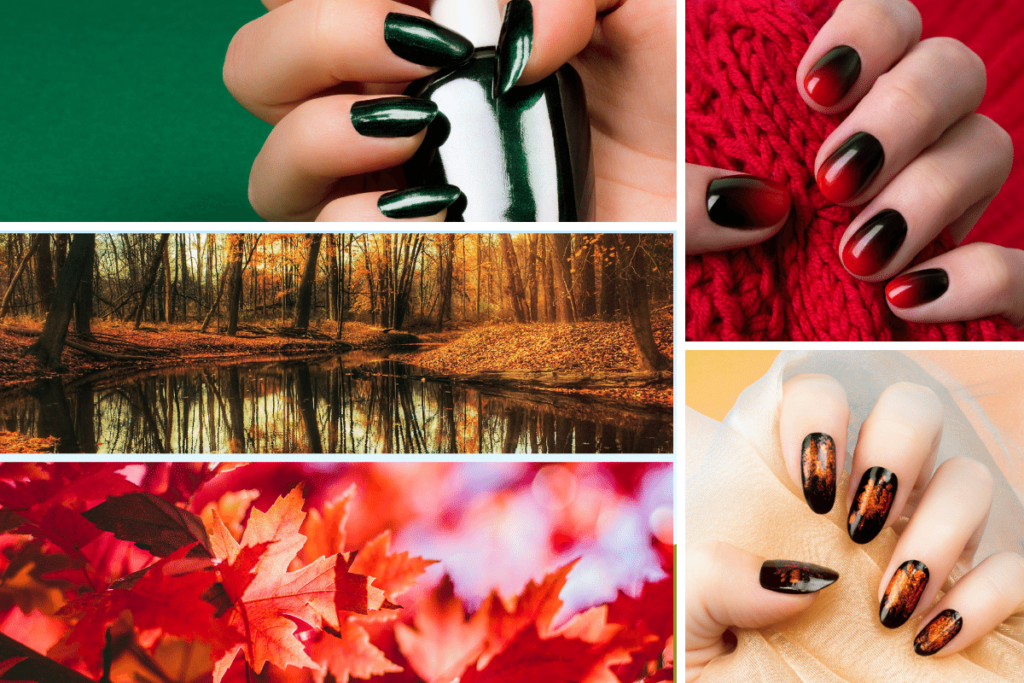
You already know how to blend colors if you tried the ombre look earlier; this is the same technique with a different story. Start with a deep green base instead of brown, then dab and blend red, burnt orange, and golden yellow with a makeup sponge, so the nail reads like summer fading into the height of autumn. Build up thin layers rather than one heavy pass; that’s what keeps the transition looking natural instead of muddy.
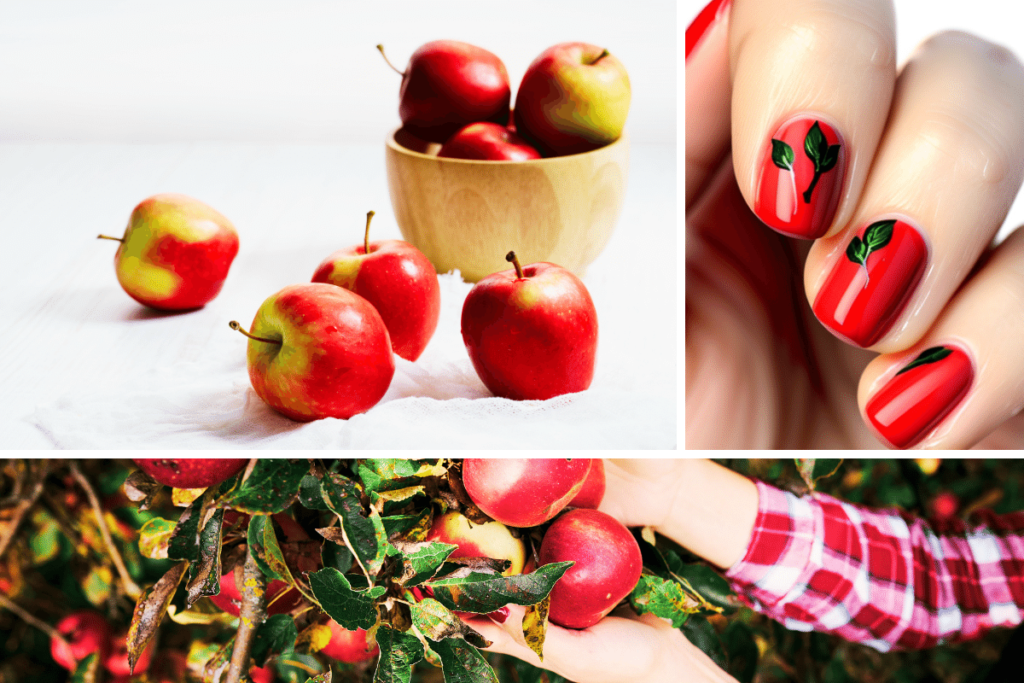
Nine designs in, and here’s the simplest one: pick a base, add the details, and let it feel like yours instead of a copy of the photo. Glossy red apples, a brown stem, a couple of green leaves- that’s it, but simple doesn’t mean forgettable. Fresh red base, then small round shapes for the apples using a fine brush or toothpick; stems and leaves last. It’s a good one to end on, honestly, since it’s proof that you don’t need a complicated design to make your nails feel like the season arrived.
Want a little more help with one of these designs? Drop a comment and tell me which one. If there’s enough interest, I’ll put together a separate step-by-step post with all the details.
None of these are going to come out perfect on the first try, and that was never really the point. The point is that you tried something, made it yours instead of a copy of a photo, and probably learned a thing or two about your own patience along the way. Whatever design you land on, wear it. Chip and all.
Got a favorite from the list, or one you’re still deciding on? Drop a comment; I’d love to know which one you’re trying first.
Recommended Blog: Revamp Your Fall Routine: 6 Scents for Ultimate Relaxation
We’re glad you’re here. Expect honest insights, helpful tools, and a community that grows right alongside you.